How to Set Up Local Service Ads for Your HVAC Business
Step 1: Go to the Google Local Services Ads Self-Signup Portal
Step 2: Enter Your Eligibility Details
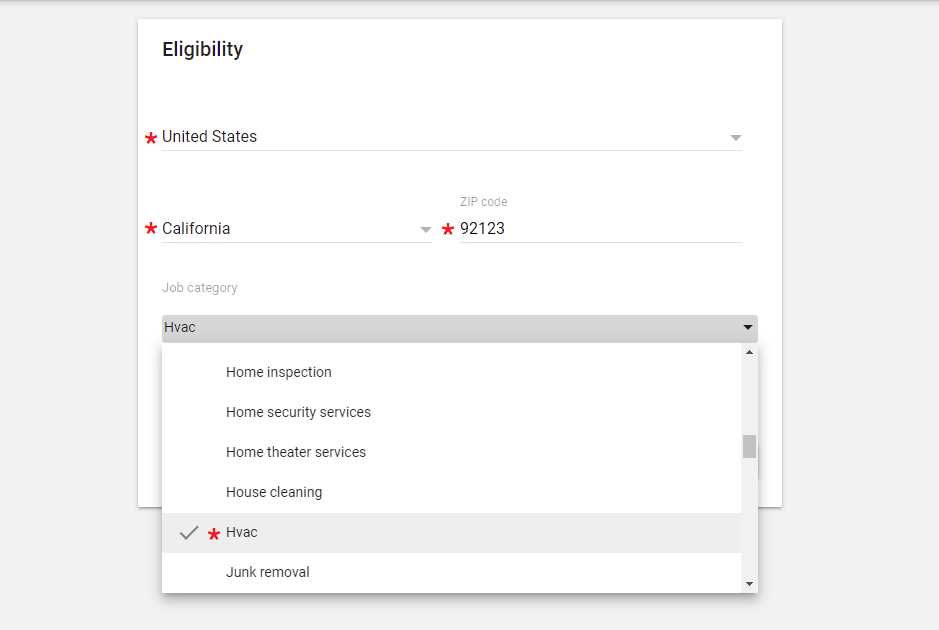
Select your country, state, and zip code, and then choose HVAC as your job category.
Step 3: Click the Get Started Button
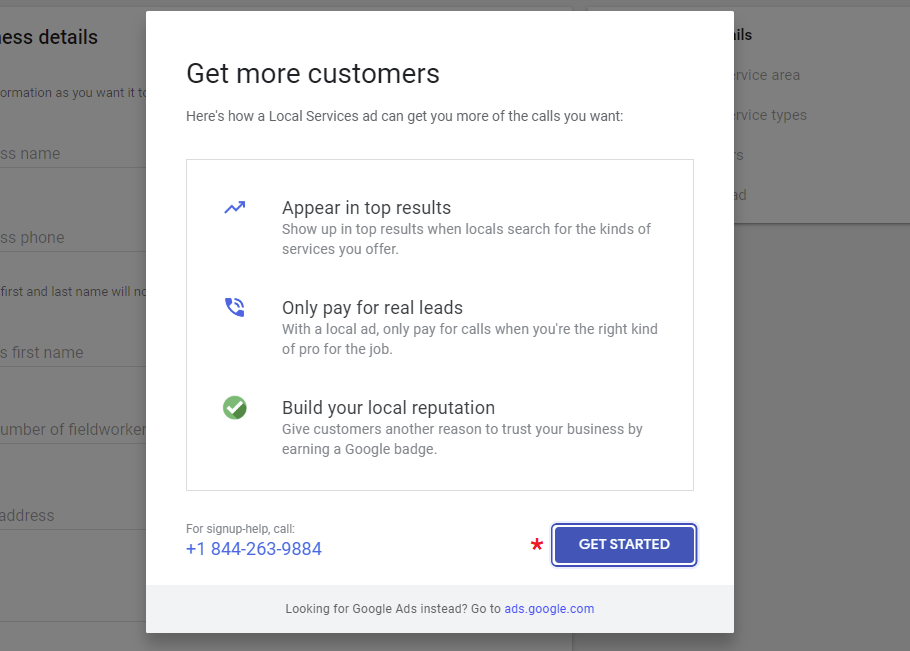
If your location is eligible for Local Services Ads, a screen will appear informing you of the benefits. To proceed with the setup, click the Get Started button.
Step 5: Enter Your Business Information
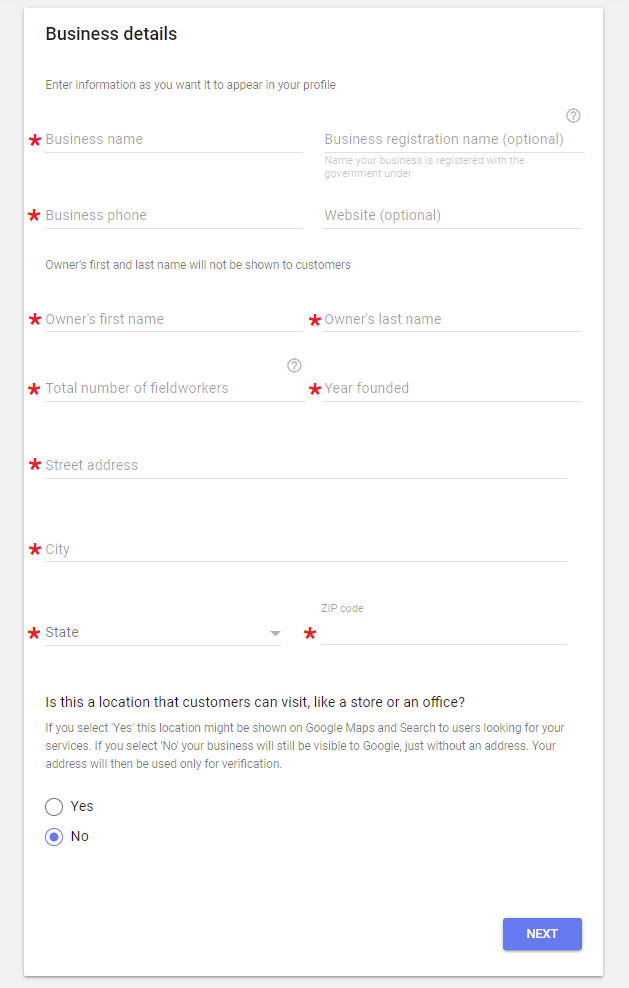
Fill in the needed information for your HVAC business, which will include:
- Business name
- Business registration name (optional)
- Business phone number
- Website (optional)
- Owner’s first name
- Owner’s last name
- Total number of fieldworkers
- Year the company was founded
- Your street address, city, state, and zip code
- Whether or not your business address is a location that customers can visit
Step 6: Setup Your Service Area
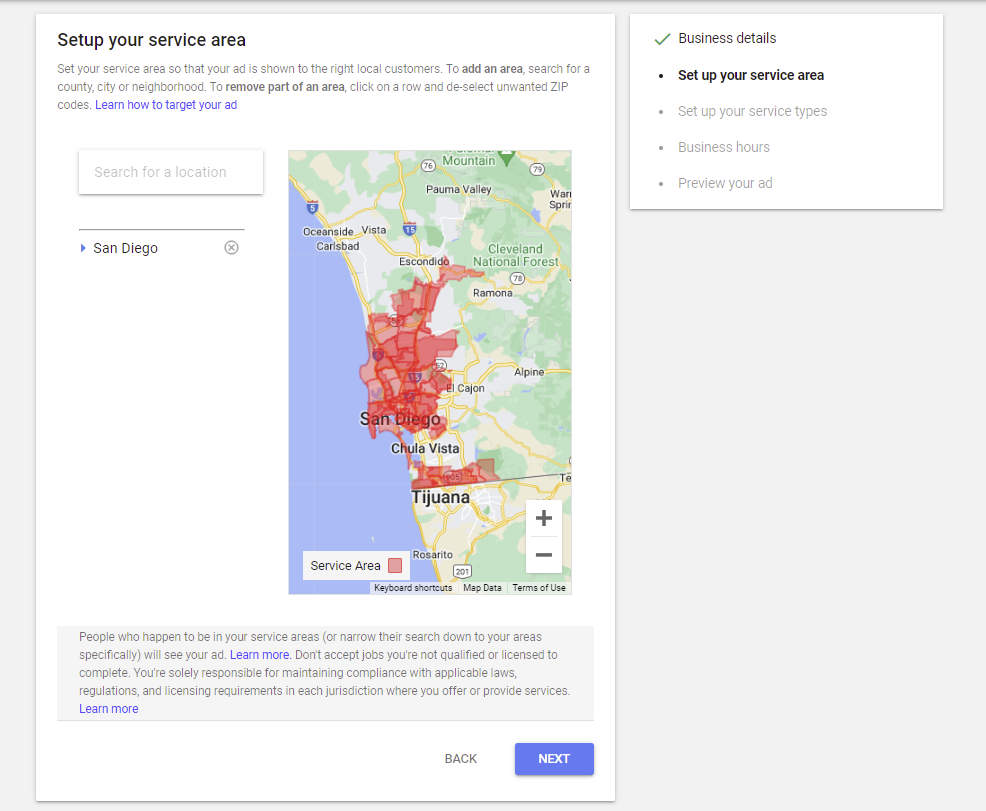
On the following screen, you’ll specify the service region in which you want your Local Services Ads to appear.
It will list the area you choose for your company location by default. You can add more regions by searching for a location, clicking the arrow beneath the city/town, and ticking the boxes next to the zip codes.
After you’ve specified your service area, press the Next button.
Step 7: Set Up Your Service Types
Next, choose all of the categories that reflect your services. (e.g. HVAC maintenance, clean ducts & vents, etc.) If you wish to speed up the process, click the “Select all” option.
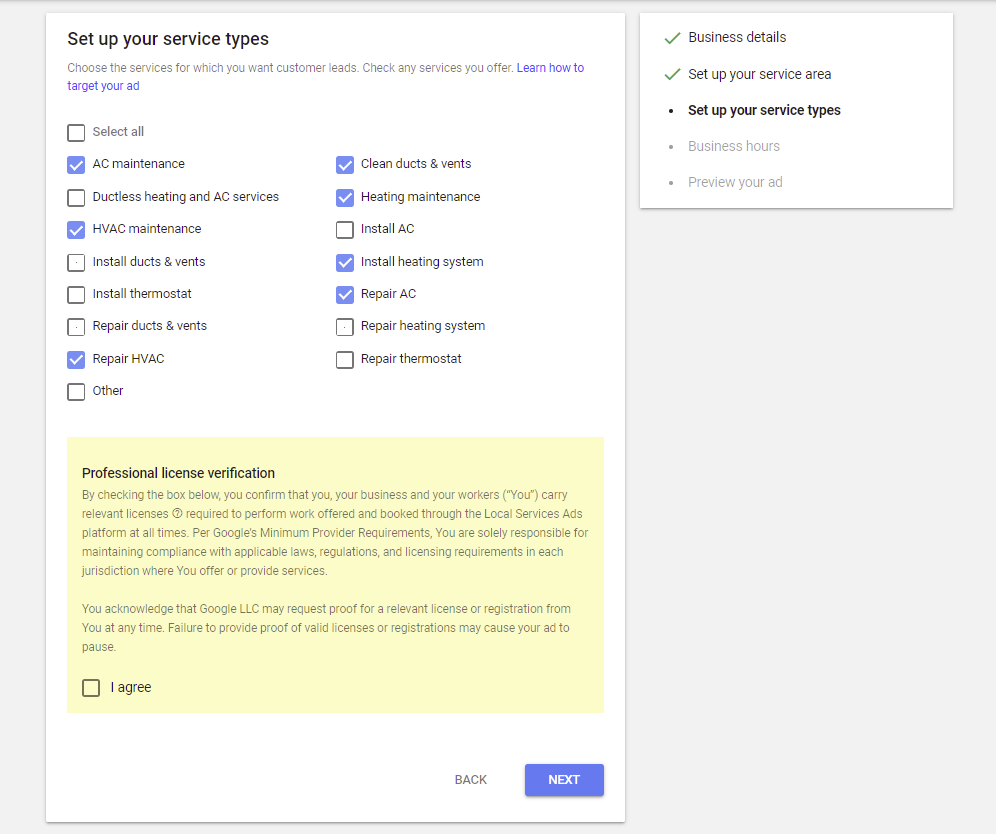
After you’ve chosen your service categories, tick the box next to “I agree,” which confirms that you, your company, and its employees have the necessary licenses to do services provided and booked through Local Services Ads.
Step 8: Set Your Business Hours
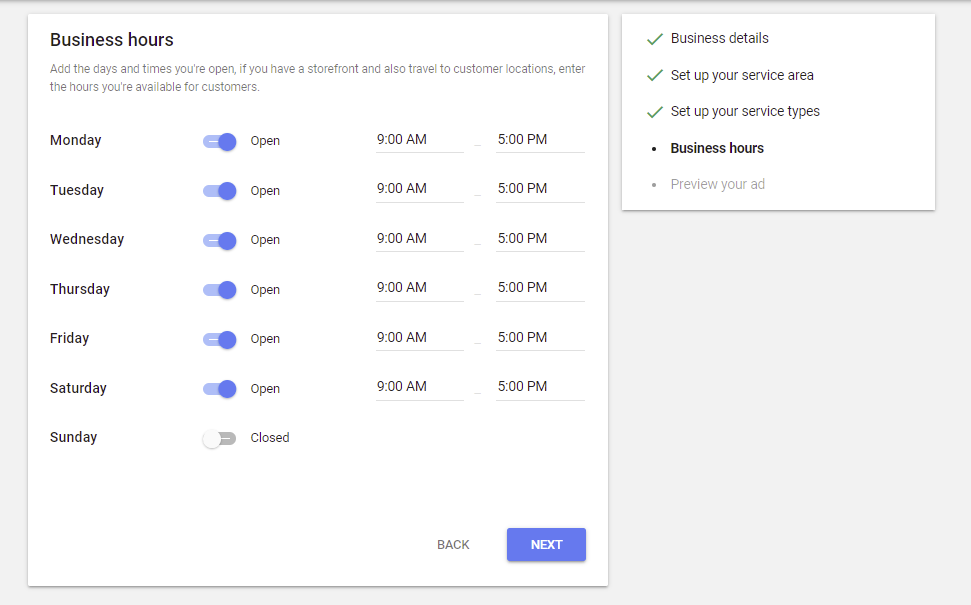
Add the days and times you’re open for business.
Step 9: Preview Your Ad
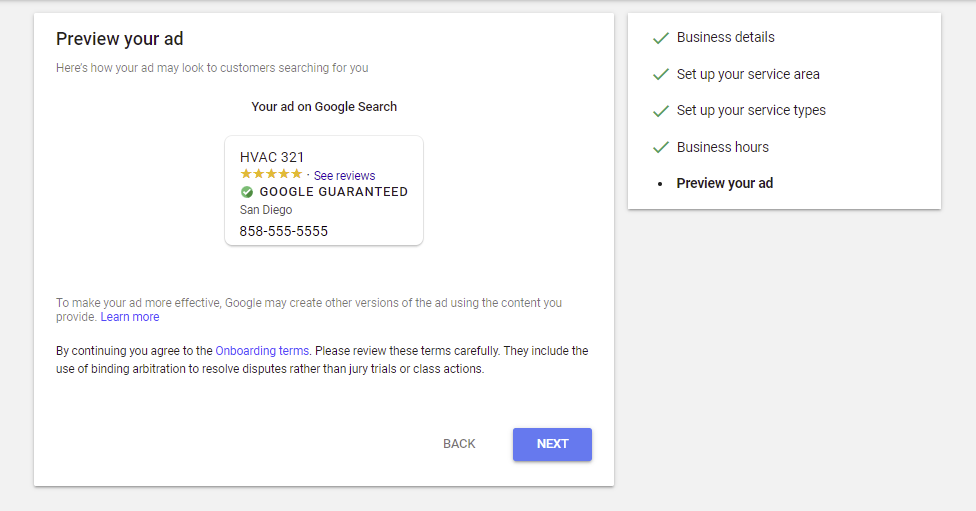
You will be able to see a preview of your advertisement.
Step 10: Preview Your Ad
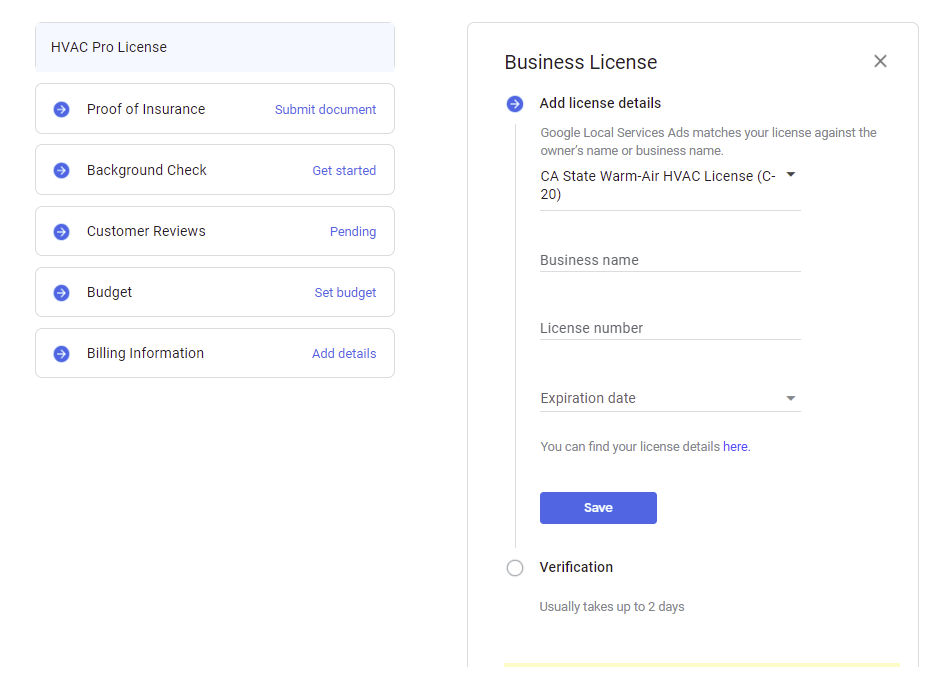
Include the following information about your company license:
- Your first name
- Your last name
- License number
- Expiration date
When completed, click “Save” to begin the verification process.
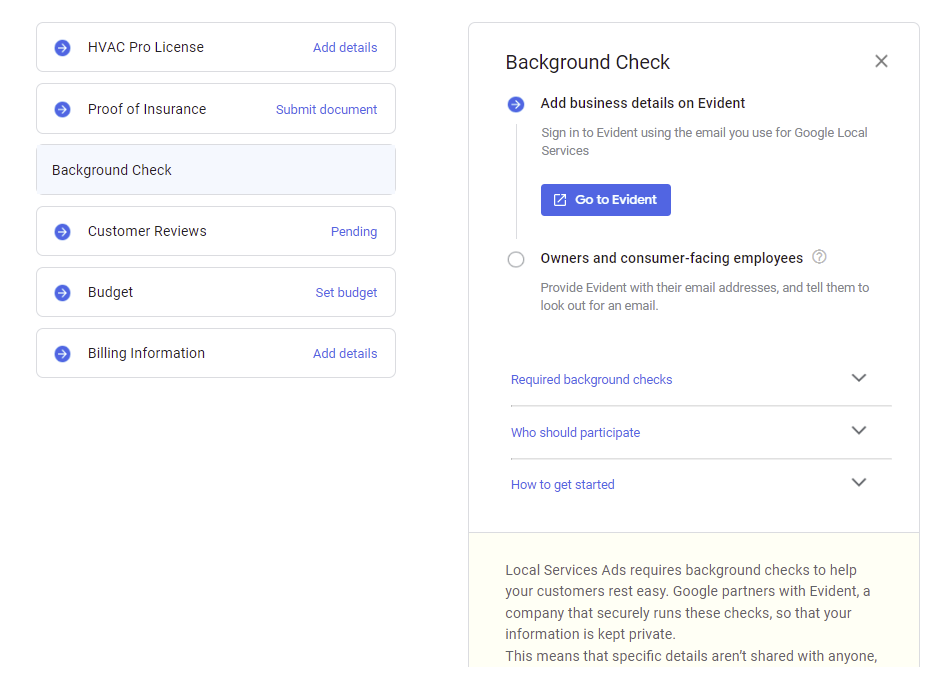
Step 11: Add Your Business Details for a Background Check
Step 12: Get Customer Reviews
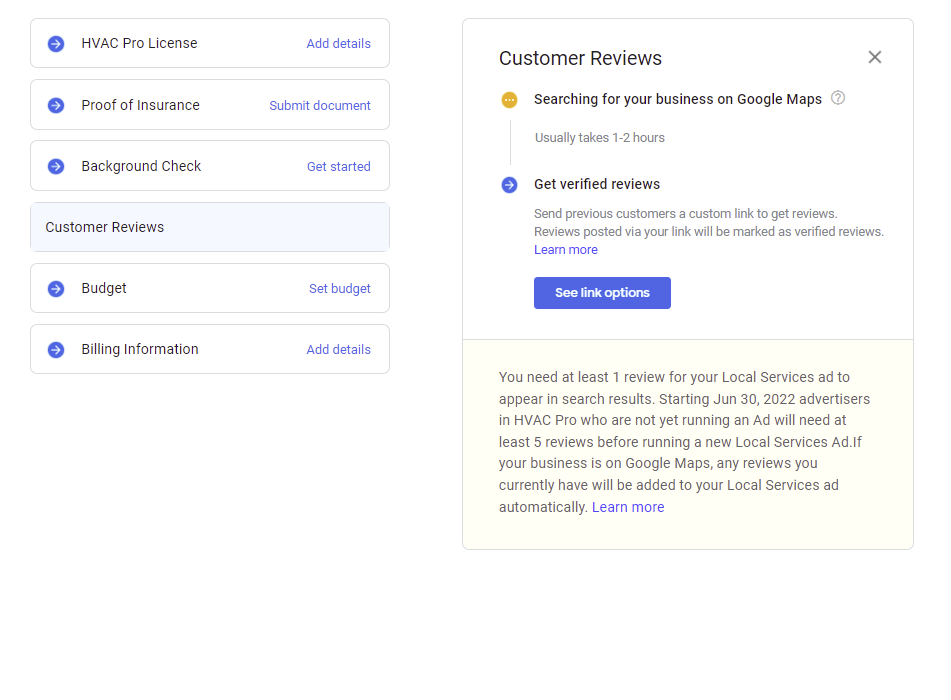
Local Services Ads immediately draw in reviews from your Google Business Profile account. However, going live with LSAs will need at least five reviews.
If your business does not currently have reviews on its GBP profile, you can share the link with current customers by clicking the “Select review link” button and picking one of the radio button selections.
Step 13: Set Your Weekly Budget
You can specify how much money you wish to spend on leads per week. Google will provide suggestions, but you can also choose “Set your own budge” and input $0 to see what is the least amount needed.
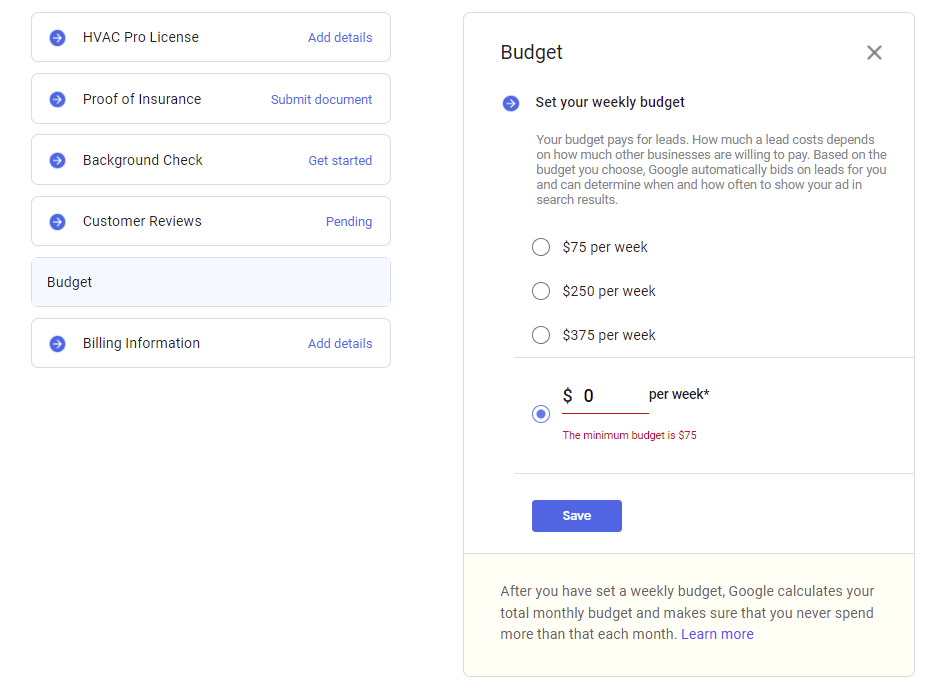
When establishing LSAs in a new market, we like to start with the minimum amount. It allows us to assess the quality of the leads, which might differ from city to city.
